Replacing the front brake discs on a Defender 90
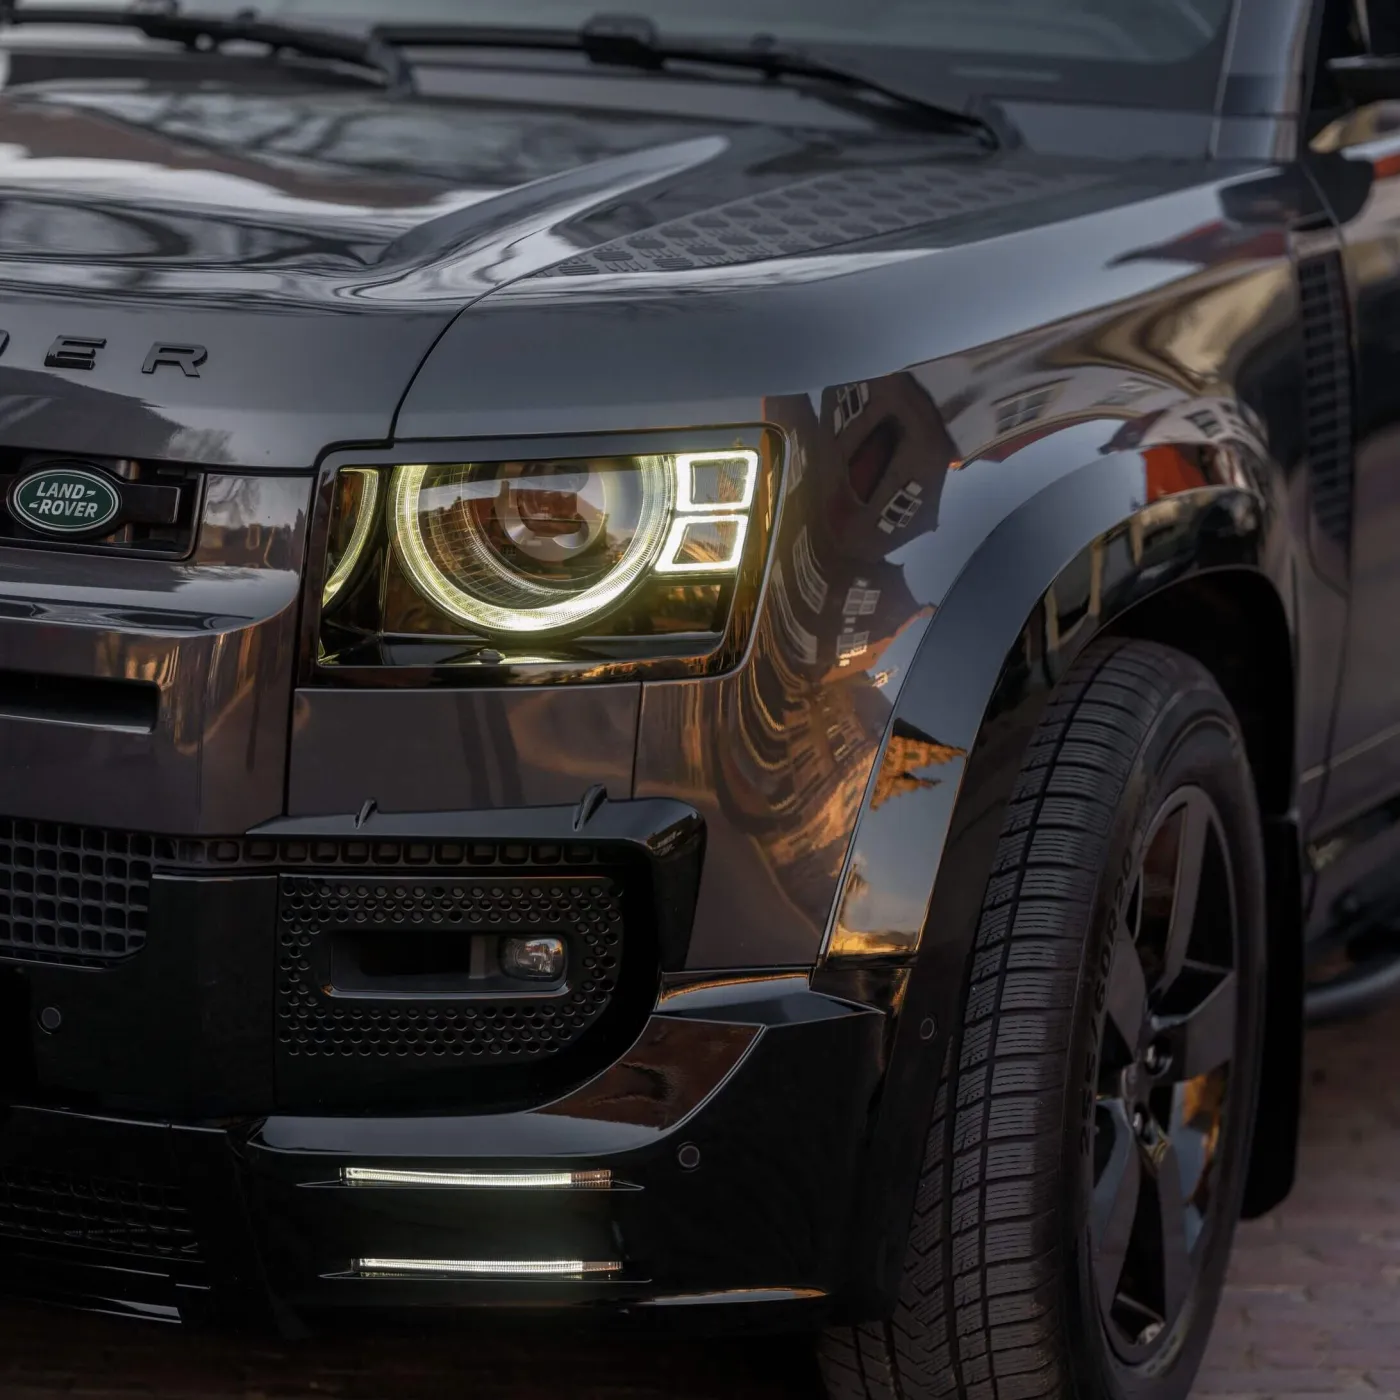
A Defender will shrug off almost anything, but the front brake discs still wear, and they wear faster than the rears because the fronts do most of the stopping. Replacing them is one of the cheapest jobs on the car, and yet it's the one owners seem to leave the longest, usually until there's a ridge you can catch with a fingernail or a shudder coming through the pedal. Here's how to tell when your front discs are done, what to fit, and how to swap them over.
Signs your front discs are worn
- A lip or ridge around the outer edge of the disc that you can catch with a fingernail, where the pad has been eating into it
- Deep scoring or grooves across the face, or a blue tinge from heat, which means the disc is finished whatever the thickness
- A shudder or vibration through the brake pedal, often a sign the disc has warped
- Squealing or grinding, especially once the pads have worn down with them
- A disc measured below its minimum thickness, which is stamped on the disc or listed in the manual
What you'll need
- A pair of genuine front discs, and a fresh set of pads to go with them
- A 17mm socket for the caliper carrier bolts, plus a ratchet and a breaker bar
- A torque wrench, so everything goes back to the right figure
- Copper grease for the hub face and bolt threads, and some brake cleaner
- A trolley jack and a pair of axle stands, never just the jack
Fitting the discs
Crack the wheel nuts loose while the car is still on the ground, then jack it up and lower it onto axle stands before you take the wheel off. A Defender is heavy, so don't trust the jack alone.
Undo the two caliper carrier bolts with the 17mm socket and lift the caliper away. Hang it from the spring or the chassis with a cable tie or a bit of wire, and never let it dangle on the flexible hose, as that can damage it.
The old disc should pull off the hub. If it's stuck, a few taps with a soft mallet usually free it, and if there's a retaining screw, back that out first.
Clean the hub face back to bare metal before the new disc goes on. Any rust or grit left behind holds the disc slightly off true and gives you a vibration later. A thin smear of copper grease on the hub face stops the next one seizing on.
Fit the new disc, refit the caliper and carrier, and torque everything properly. Then do exactly the same on the other side, because discs are always replaced as a pair.
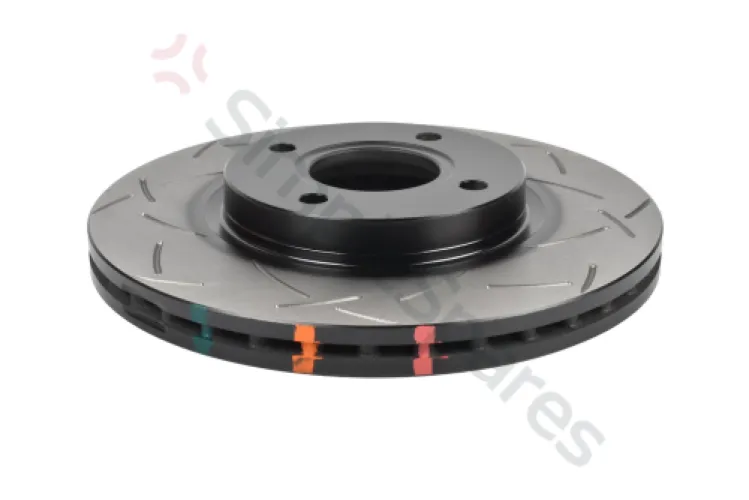
Genuine front discs that fit the Defender 90

$200.85
Excl. VAT
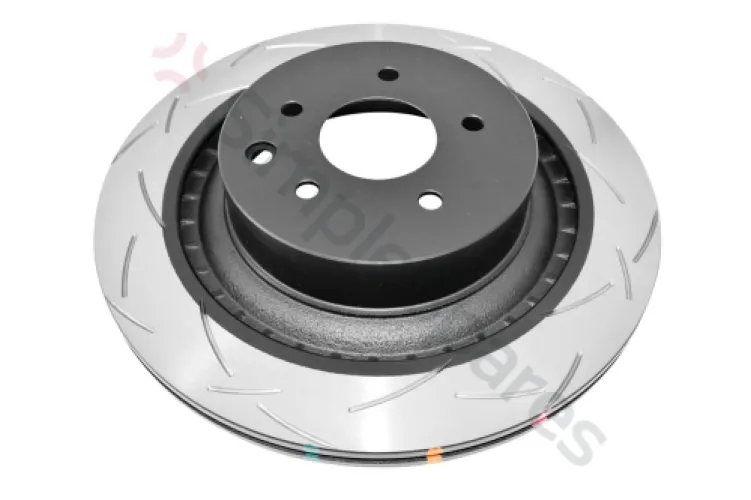
$224.30
Excl. VAT
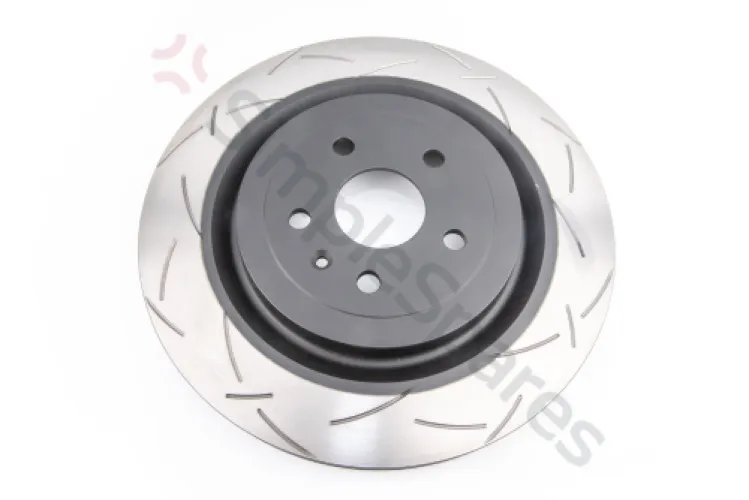
$224.30
Excl. VAT
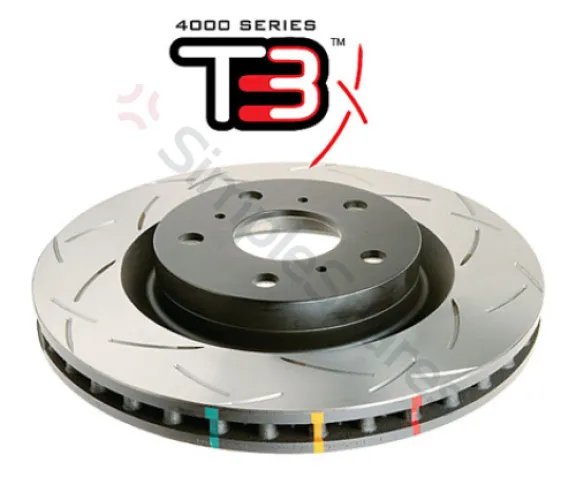
Torque figures and bedding in
Torque the caliper carrier bolts to 90 Nm and the wheel nuts to 130 Nm. Always check those against the workshop figures for your exact Defender before you rely on them, since specs can vary by year and build. Once it's all back together, take it easy for the first hundred miles or so to bed the new discs and pads in. Gentle, progressive braking over that period helps them mate properly and gives you the best bite afterwards.
Not sure which part fits?
Send us your VIN and we will check it against the parts catalogue.